


There’s so much to love about fall! We’ve already talked about our favorite fall teas -- all the wonderful flavors that totally represent the season. Another thing we love about fall? When the days get shorter, the opportunity to light up our indoor and outdoor spaces with the warmth of candlelight is just dang irresistible. Fall evenings practically beg for candles to be lit.
(Here’s a riddle: What kind of tea is a candle’s favorite? A matcha, of course!)
Anyhoo. Love candlelight like we do? Have a few empty Harney tea tins lying around like we do? Itching for a DIY project? Perfect! Then DIY Fall Tea Tin Lanterns are exactly what you’ve been waiting for. Perfect for your fall mantel, table centerpiece, Halloween party or backyard s’mores gathering, this incredibly easy and inexpensive DIY activity will light your fire. It’s also a perfect way to reuse/recycle those tins.
Ready to impress yourself and your friends with your craftiness? Just follow the steps below to create your one-of-a-kind lanterns. Look at you go with your tins and artsy self. Woot!
What You’ll Need
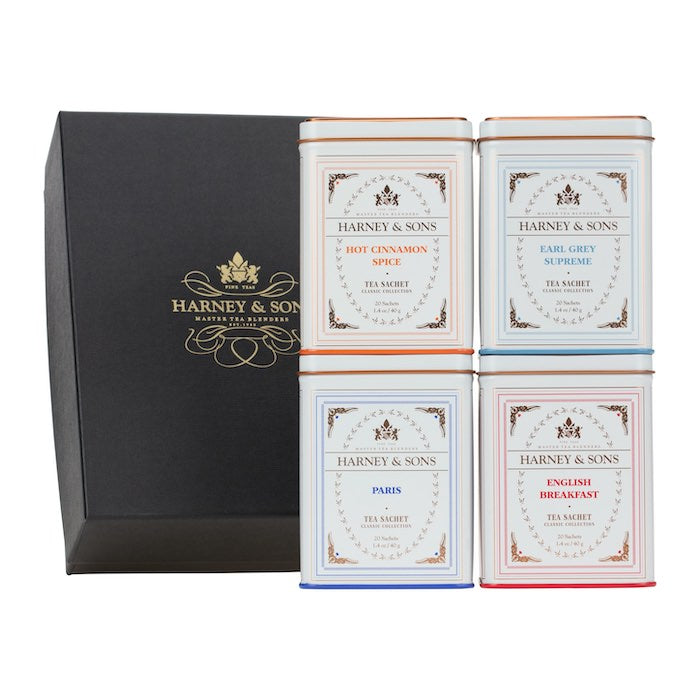
- Harney tin
- Hammer & nails or drill w/small bit
- Stencil
- Tape
- Towel
- Small rocks or sand

Let’s Make a Stencil
If you’re artsy or adventurous, make your own design! If you prefer to use an existing template, then tah dah! We’ve already created some fall stencils for you to download and use. Unless your artist muse is strong with you, it’s probably best not to freehand directly on the tin; whether you choose to make your own or download and print one, using a stencil will greatly simplify the process. Tape it securely to your tin exactly where you want it.

Ready, Set, Punch!
Place a towel on your work surface so you have a cushy place to hold the tin, making it less likely to scoot as you punch the holes. You can create the holes in one of two ways:
- Hammer and nail
- Drill and small bit
The drill is faster and a little easier, but if you don’t have a drill or prefer not to use one, a hammer and nail will work just dandy. We found smaller nails are easier to work with, but you can select any size you wish (or mix it up). If you’d like to hang your masterpiece, simply punch two holes on either side of the tin and secure a piece of wire as a hanger.
Rock Steady, Baby!
To keep your tin right where you want it, especially if you’re going to place it (or them) outside where the wind might blow, you can place small rocks in the bottom. This also helps if the bottom of the tin became a bit uneven during the punching process. Sand works, too.

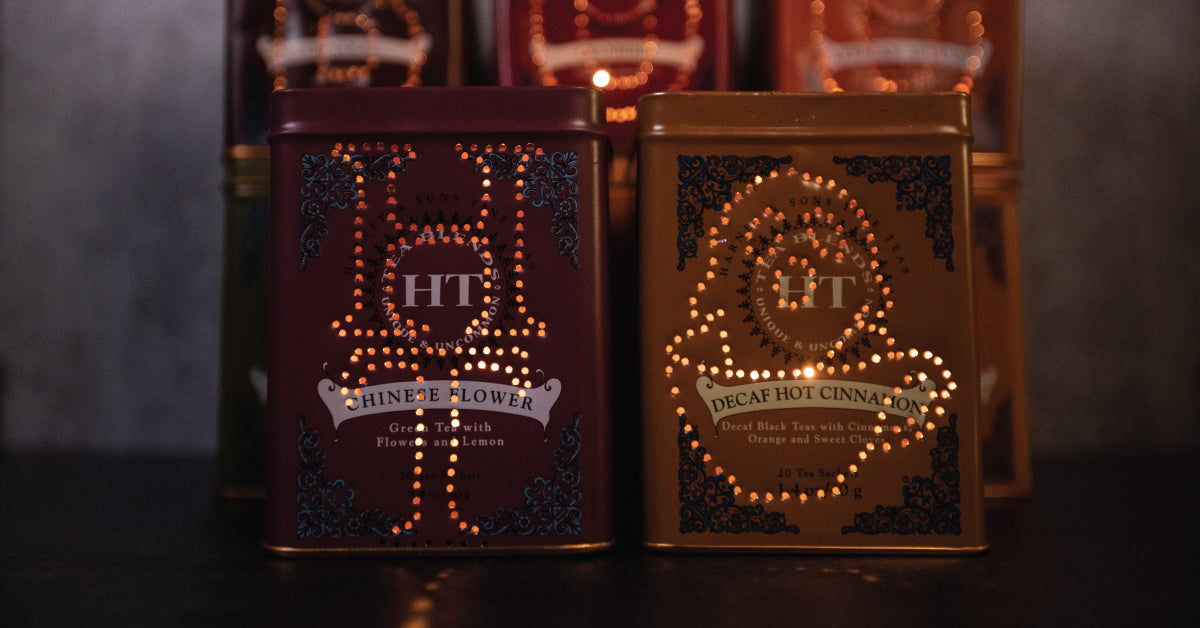
Light It Up!
Time to let your work shine! Simply place a candle in your new tea tin lantern. A battery-powered tealight works wonderfully, since the tin won’t heat up from an actual flame. If you prefer to use a real candle, no worries. We recommend a tealight so the wax is contained.
Check out our own DIY Fall Tea Tin Lanterns -- we love how they turned out and had a great time making them.
Looking for more ideas on how to reuse your Harney tea tins? Here you go!
5 Ways You Can Upcycle Old Tea Tins
10 Ways to Reuse Tea Tins to Get More Organized in the New Year
2 comments
Debra Lanchman
This a great idea on how to reuse the tins !!
Not just for Halloween but it would be great for Christmas candles as well !!
Thank you for this great idea !
This a great idea on how to reuse the tins !!
Not just for Halloween but it would be great for Christmas candles as well !!
Thank you for this great idea !
Janise
Great idea! Thanks!
Great idea! Thanks!