
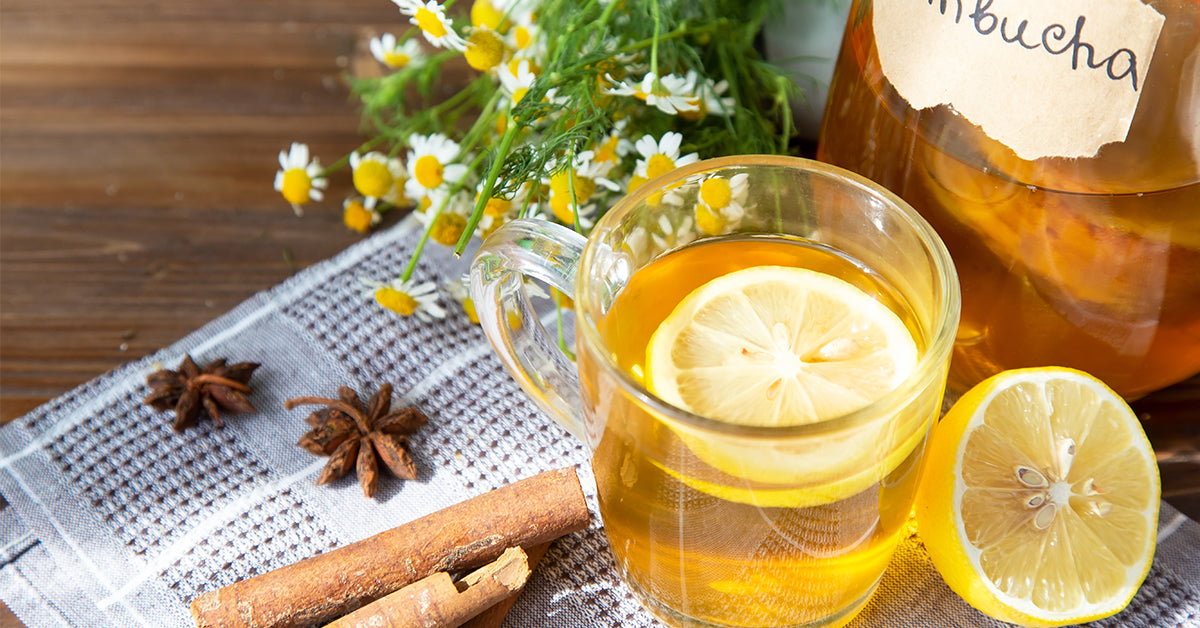
Have you joined the kombucha craze? It’s ironic that this beverage has become so popular in the last few years, as it has been around for thousands. While the name sounds like some sort of exotic animal you’d hear about on Nat Geo (imagine Australian accent): “Here we see the Kombucha in its native habitat, foraging for food as it prepares to slumber through the winter season,” this fermented tea has all kinds of health benefits. Oh, and a living organism.
What Is Kombucha?
In short, kombucha is a type of tea that has been fermented. It is most often made with black or green teas. Kombucha is made by adding bacteria, yeast and sugar to the tea, and letting it ferment. That’s it. Well, except for the scoby.
The scoby, which is an acronym for symbiotic culture of bacteria and yeast, is the fermenting agent. Also known as the “mother,” the scoby bacteria and yeast eat most of the sugar in the tea, transforming the tea into a fizzy, slightly sour fermented beverage. It also protects the tea from outside contaminants and helps maintain the proper environment inside the jar during the fermentation period.
For those not familiar with a scoby, there’s really no other way to say it: it’s weird and kinda gross-looking. However, it’s the important ingredient that makes kombucha what it is. Try thinking of it as a kinda slimy mushroom—kombucha is also known as “mushroom tea” for this reason.

Due to the fermenting process, kombucha does have a tiny amount of alcohol content, usually no more than 1% which shouldn’t have any impairing effects unless you go on a kombucha binge. However, people who avoid alcohol should be aware of its presence in kombucha.
Kombucha Health Benefits
The reason kombucha is so popular is due to its wellness properties. It’s chock full of probiotics that are great for our intestinal system. When made with green tea, it incorporates the many known benefits of that tea which contains polyphenols that act as powerful antioxidants. While there is anecdotal evidence that kombucha has other health benefits such as reducing the risk of heart disease, helping manage type 2 diabetes and acting as a weight-loss aid, those factors do not have a proven track record. But its known health benefits of being a powerful probiotic are quite beneficial.
Ready to Make Your Own Kombucha?
While kombucha is readily available in stores, it’s easy and fun to make at home and is very inexpensive. It does, however, take time to make a batch. Once your first batch is made, you can start on another while you enjoy what you’ve already made. But the first batch will take several days before it’s ready.

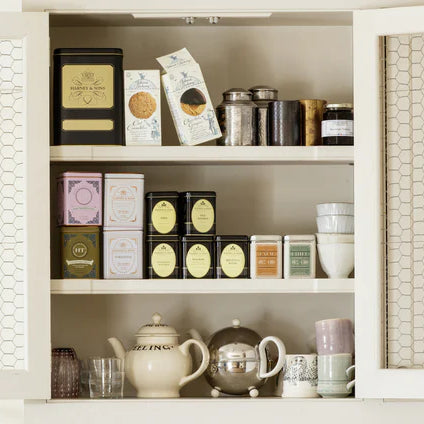
Before we dive in, let’s talk about tea. As we mentioned previously, black or green teas are primarily used in kombucha. When it comes to black teas, a solid choice would be our English Breakfast or Darjeeling. If you want to add some flavor, however, we’d recommend something that pairs well with the natural tangy fermented flavor of kombucha like Apricot Tea or Citrus Blend. In the green tea aisle, Jasmine is an obvious choice, but any of our Chinese green teas would be great. If you’d like a flavored green, Bangkok with its coconut, ginger and vanilla flavors, as well as Organic Green with Citrus & Ginkgo would be excellent choices as well.
If you’d like to use your favorite white or oolong tea, knock yourself out. Herbal teas, however, will need a boost from a black or green tea to ensure the scoby is getting all the nutrients it requires. Also, avoid any teas that have natural oils, such as Earl Grey with bergamot oil.
Next, you’ll need scoby! If you don’t have a friend who brews some and can share—growing scoby is rather like having sourdough starter, you can keep it going for years and have enough to share—you can purchase it from Amazon, health stores or brewing supply stores. If you’d like to make your own scoby, you can do that as well! Ironically, you’ll need some kombucha to make your scoby, which you can purchase at the store (it may be the last time you purchase it once you start to make your own!). You should also know that it takes a couple of weeks to grow the scoby on top of the time it takes for the kombucha to ferment. Like we said, it’s relatively easy but takes time. Slow and steady wins the kombucha race!
A few things to keep in mind:
You need a clean work environment. While kombucha has bacteria, it’s the kind we want. Start with clean hands and clean utensils.
Stay away from metal or plastic containers. Metal can react with kombucha and give a metallic flavor, as well as making the scoby less effective. Plastic can house unwanted bacteria that you want to keep out of your kombucha.
Jar covering. Avoid cheesecloth as its more porous nature can allow tiny insects to make their way in. Instead, layer up cloth with tightly woven fibers (napkins or tea towels work great) or paper towels. Just cover the jar and secure it tightly with rubber bands. You can also purchase this kombucha brewing mason jar set to have everything you need.
Alright. Tea? Check. Scoby? Check. Jar and cover? Check. Clean hands and work environment? Check. Let’s make kombucha!
Ingredients
- 3 ½ quarts water
- 1 cup sugar (just the regular kind)
- 2 tablespoons loose-leaf tea or 8 sachets
- 2 cups starter tea (this is unpasteurized, unflavored store-bought kombucha or tea from a previous batch of homemade kombucha)
- 1 or 2 scoby
If you’d like to increase or decrease the batch size, simply maintain the above ratios. One scoby will work in any size batch, just realize larger batches may require more fermentation time.
Equipment
- Stock pot
- 1-gallon glass jar or two 2-quart glass jars
- Tightly woven cloth cover
- Six 16-oz glass bottles with flip-top lids to aid in preserving the carbonation
- Small funnel
Instructions
Reminder: avoid prolonged contact between the kombucha and metal during and after brewing.
- Make your tea base. Bring the water to a boil, then remove from heat and stir in the tea, letting it steep until the water has cooled to room temperature. Then add the sugar, stirring until it dissolves.
- Add the starter tea. After the tea has cooled, strain out the tea leaves or remove the sachets, then stir in the starter tea. The job of the starter tea is to make the liquid acidic, keeping unwanted bacteria at bay.
- Transfer the mixture into your jar(s) and add the scoby – if you used 2 jars, you’ll need 2 scobys. Then with clean hands gently slide the scoby into the jar. Cover the mouth of the jar with your cloth or paper towels and secure with rubber bands.
- Ferment! Keep the jar(s) at room temperature and out of direct sunlight. Ferment for 6 to 10 days.
- Check on your kombucha. During fermentation, it’s normal for the scoby to float at the top, bottom or side of the jar. Remember, the scoby is a living organism, so you should see a new cream-colored layer of scoby forming on the surface of the kombucha after a few days. It may attach to the old scoby or it may separate. Don’t be alarmed if you see brown stringy bits floating beneath the scoby, sediment collecting at the bottom and bubbles around the scoby. These are normal, healthy scoby signs. Remember we told you: scoby’s weird.
- Taste test. After 6 days, use a straw or pour a little from the jar into a cup to taste. When it gets to a balance of sweet and tart that you like, it’s time to bottle it up! Remember, the longer the tea ferments, the more sugar molecules will be eaten and the less sweet it will be. You can add sweetener later (more in a minute).
- Save some for starter tea. Reserve 2 cups from this batch to use as starter kombucha for your next batch. You can leave it in the jar with the scoby, or gently lift out the scoby and place it on a clean plate.
- Bottle for second fermentation. Using the funnel, pour the fermented kombucha into the bottles, straining if necessary. Here’s when you can add any flavorings you desire. Ideas include fruit juice, chopped fruit, 1-2 tablespoons of flavored tea, honey or sugar, candied ginger, herbs or spices.
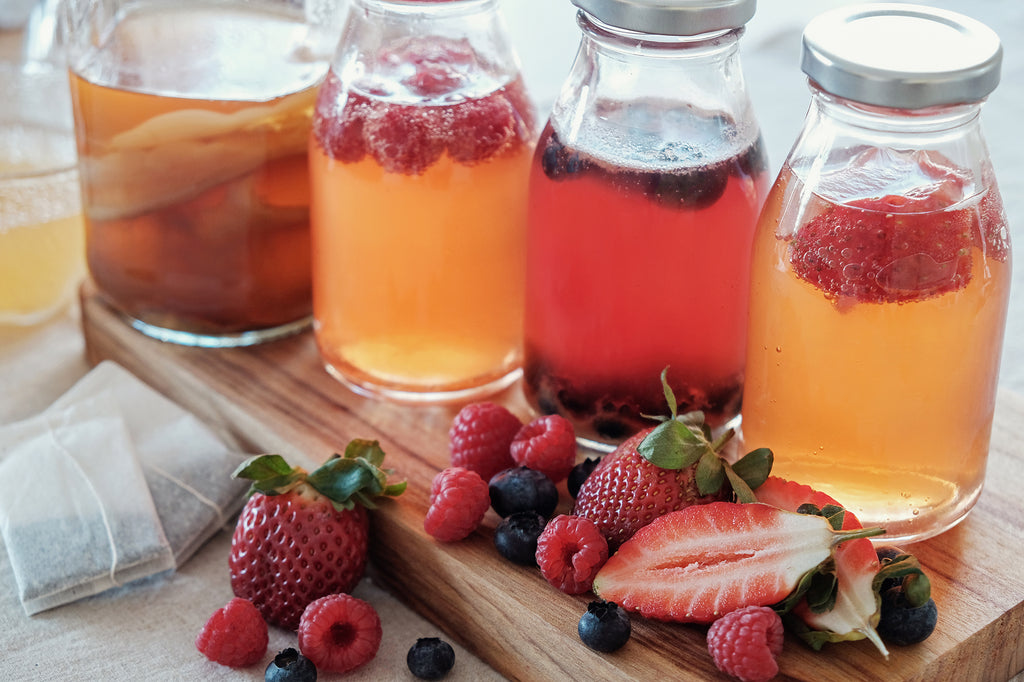
- If you wish, you can infuse the kombucha with flavorings for a day or two in another covered jar, then strain and bottle for kombucha without “stuff” in it. Whichever way you do it, leave an inch or so of head room in each bottle to allow for any expansion.
- Ferment and fridge. Store the bottled kombucha at room temperature out of direct sunlight for 1 to 3 days until it carbonates. Then refrigerate to stop the fermentation, and enjoy within a month.
- Repeat! Starting at the top, make another batch of the base tea, add starter tea from this batch of kombucha. Clean your fermentation jar(s), put your tea in, add the scoby and you’re off to the kombucha races! It may not be a fast race, but it’s a delicious, fun one.

As you become comfortable with the basics, and with your scoby (you could even name it; Scoby Do comes to mind), branch out with other tea types and flavor additives. Enjoy your new healthy homemade kombucha tea and download this recipe so you never forget how to brew up a batch of probiotic goodness!


1 comment
Mary Grace Pennella
As a previous Kombucha brewer, nice job explaining the process. At the time I was unaware of Harney Teas….what a shame. I may try again now that I am in the know!! Thanks
As a previous Kombucha brewer, nice job explaining the process. At the time I was unaware of Harney Teas….what a shame. I may try again now that I am in the know!! Thanks