Whether you recently decided to try making your own tea blends (or even if you didn’t), we thought we’d stay on this DIY train and let you know you can make your own tea bags, too. Some of you may be wondering, “Now why would I want to make my own tea bags when Harney makes such nice ones for me?” You have a valid point. We do make sachets and tea bags for our teas, and we’re very happy to make them available to our customers. But if you’re interested in making your own, it’s easier than you might think and affords you some additional benefits.
Benefit #1: Loose Leaf Tea!
Tea bags generally come with tea composed of broken leaves because the larger leaves in loose leaf tea need more room to expand than a tea bag will allow. When you make your own tea bags, you can choose to make them a little roomier than regular tea bags, which allows the leaves to expand and deliver you the most flavor. Like putting on elastic-waist pants after Thanksgiving dinner.
Benefit #2: Bag Those Blends!
Whether you created your own blend completely from scratch or took some of our teas and put them together in your own unique way, now you can put them in tea bags! If you’re on the go or don’t like using an infuser, you can have your personalized blends and tea bags, too!

Benefit #3: Customize Your Size!
If you like your tea stronger than most, go ahead and put more tea in those bags. To get a stronger cuppa, it’s always best to use more tea, not steep for longer periods of time. A teaspoon is how much tea is normally used to brew one cup of tea. Are you a lover of iced tea and can’t imagine not having a pitcher at the ready? Make a much larger tea bag to accommodate enough tea to fill several glasses.
Benefit #4: Personalized Tea Bags Make Great Gifts!
By getting creative with your tea tags, you can make your tea bags personal and fun. Use colorful scrapbook paper (instructions to follow), download these printable tea tags from ftd.com or get creative and make your own. So. Much. Fun.
Now that you’re completely stoked and ready to DIY all DAY, here’s what you need to have on hand and instructions on how to make your own tea bags.

What You’ll Need:
- Coffee filters
- Your fastener of choice: staples, glue, double-sided tape, needle & thread
- String or baker’s twine (use something without dye that could leak into your tea)
- Paper for tea tags (optional)
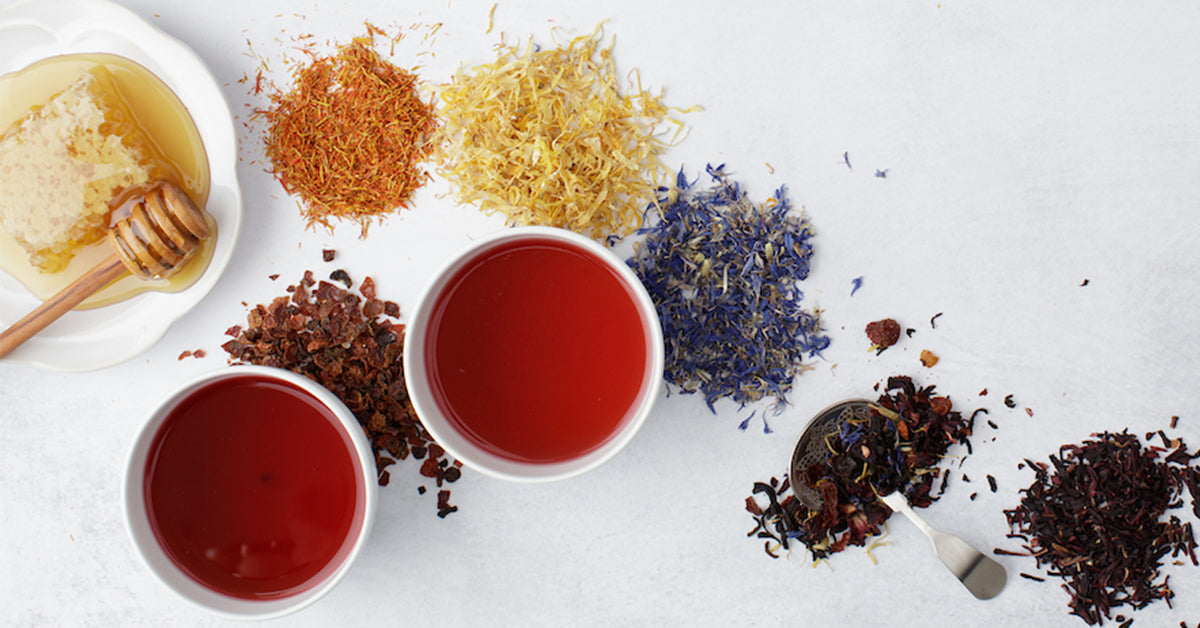
- Tea!!
What You’ll Do:
Step 1
Lay your coffee filter out flat and cut the sides off so it creates a rectangle (about one inch off on each side to make a single-serving bag).
Step 2
Put your loose-leaf tea on the filter. Again, one teaspoon is the standard measure for a single cup of tea. Use more if you like it stronger or if you’re making a large bag for iced tea.
Step 3
Fold both of the long sides of the filter into the middle. Fold one side first so that it covers the tea, then repeat on the opposite side. Once the tea is folded inside the filter, roll the packet so the tea is in the center and the folded seam of the filter is going down the middle of the package. Remember to leave enough room for those big boy tea leaves to swim around and release their flavor.
Step 4
Fold the filter in half to form a small rectangle. Trim the excess at the top to the size you want.
Step 5
Fold the top down. You can either fold it as a whole so it’s flush across the top or fold the corners to create a triangle, then fold the triangle point down.
Step 6
Staple a string (approximately 6”) to the top folds of the pocket to secure the pocket and the string.
Step 7
Cut out a 1” x 2” piece of fun scrapbook paper (or the paper of your choice) and fold it in half. Insert the other end of the string inside and secure it with a staple, glue, double-sided tape or get fancy with a few sewing stitches using needle and thread.
Step 8
Repeat! You can make a bunch in one sitting while you’re in the DIY groove and have plenty on hand to…
Step 9
Brew a cuppa and enjoy!

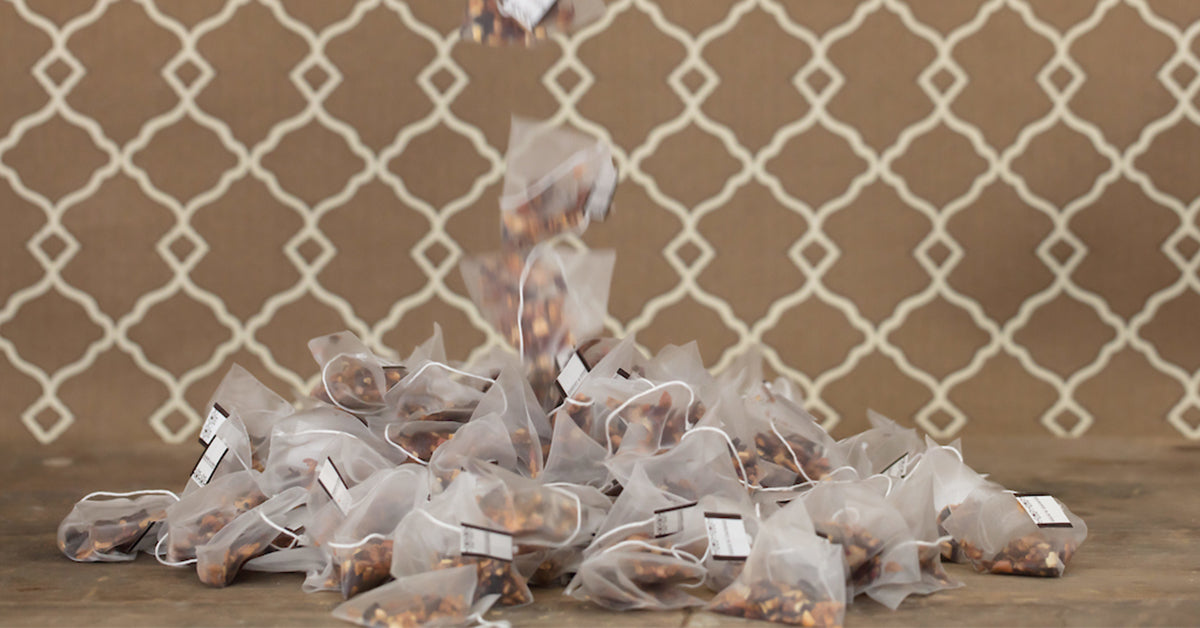
Like the idea of creating your own tea bags but still feels like too much work? Check out Tea Pockets. They’re self-sealing and are disposable, bleach-free, adhesive free and ready for you to put your favorite tea in. Or, if you really want to steep it simple, you can use cheesecloth or muslin to create tea balls. Simply cut a 4” x 4” square for a single serving size, place your tea in the middle, gather up the corners, twist a few times, tie with string or baker’s twine and you are one cup of hot water away from your perfect cup of tea.
3 comments
Christine
I would like to make some tea bags using your instructions, however, even though I am a diy fanatic and have no trouble understanding instructions I find that I need some visuals for steps 3, 4, and 5. Is it possible that you could add some?
I would like to make some tea bags using your instructions, however, even though I am a diy fanatic and have no trouble understanding instructions I find that I need some visuals for steps 3, 4, and 5. Is it possible that you could add some?
Julie Campbell
I just found your website..(thanks to Gee @ How Civilized!) , and ordered Earl Grey Tea….CAN’T WAIT for it to arrive!! Now, after reading your 4 minute read on DIY teabags…..I’m REALLY impatient for my loose tea to arrive!! Great info!!
Thanks, stay safe during these troubled times, and know you’re doing a good thing……
Milo Tsukroff
Great idea! I love DIY projects, and this one looks perfect to try. The key here is the coffee filter material and a stapler.
Great idea! I love DIY projects, and this one looks perfect to try. The key here is the coffee filter material and a stapler.